Our Street Fighter 6 beginner’s guide provides a rundown of all the basics you need to know about Capcom’s latest fighting game.
More than three decades since the series transformed the arcade scene and the fighting game genre, Street Fighter 6 sets a new high bar, both evolving and expanding what’s on offer with plenty to cater to fans new and old.
For those who know nothing about fighting games or have always been too intimidated, this guide is designed to provide the perfect entry point. Still, that doesn’t mean you’ll want to jump in completely oblivious, so allow us to give an overview of what you need to know about Street Fighter 6 and how to get started.
What modes are in Street Fighter 6?
Street Fighter 6 comes as a huge package consisting of three modes, offering something for everybody. With that in mind, it could be difficult to know where to start.
Fighting Ground: this is your bog standard mode for when you just want to throw down. Here’s where you’ll find the traditional Arcade mode, a training mode along with some in-depth tutorials and character guides, as well as setting up 1v1 matches against the computer, locally, as well as for online matchmaking, ranked, casual or custom lobbies. Besides no-nonsense bouts, you can also play team battles or the party mode Extreme Battle, where each fight is set up with a combination of rules and gimmicks to liven things up. Basically, you’ll find all the bread-and-butter Street Fighter you need here.
World Tour: Far from a traditional ‘story mode’, World Tour lets you create your own avatar and let them loose in a rich (and bonkers) semi-open world action RPG single player campaign in the world of Street Fighter (which also shares the same universe as Capcom’s Final Fight). There’s random side quests, mini games, cool fanservice-y character appearances, skill trees, and a lot of that RPG grind (but through the mechanics of Street Fighter). It’s essentially a novel way to experience the world of Street Fighter if you’re looking for more than just getting crushed on the internet, though it also has some more fun and structured ways to help you learn different fighting mechanics, too.
Read more: Street Fighter 6 World Tour guide
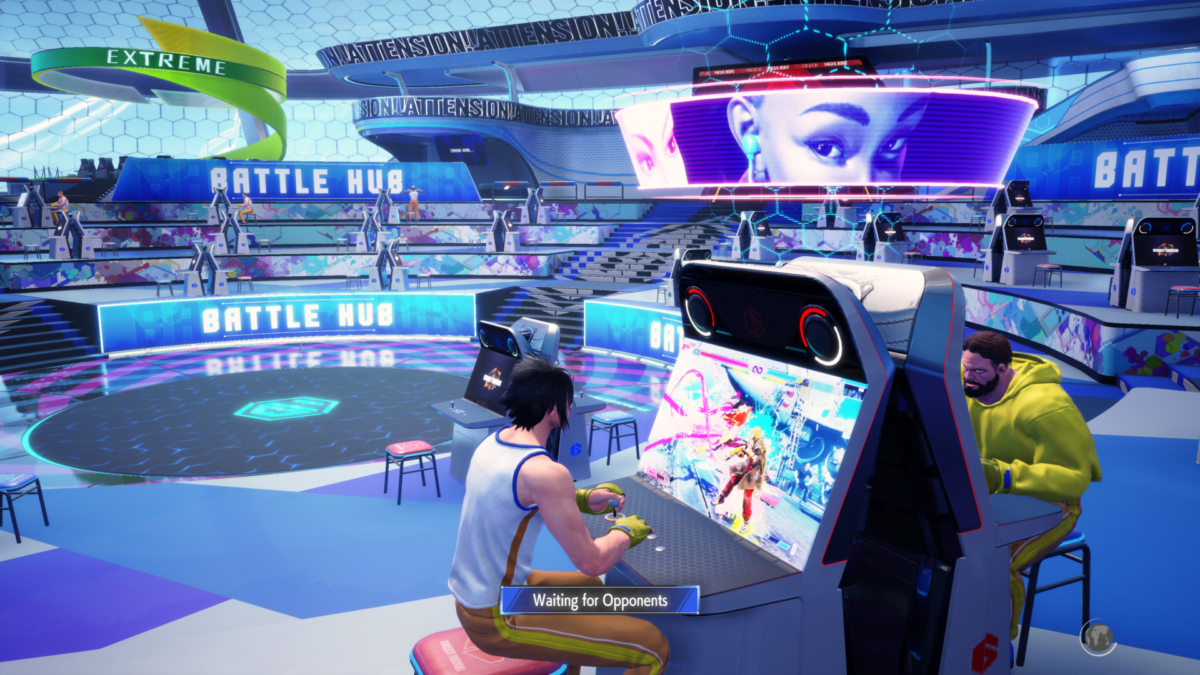
The Battle Hub is a place where you can socialise or play a few classic arcade games. Credit: Capcom.
Battle Hub: While online matchmaking already exists in Fighting Ground, the Battle Hub transforms the online experience into a more of a social space, as your avatar from World Tour gets to wander around a virtual space, looking like a giant arcade centre, where players can sit down at cabinets opposite each other to fight or you can just hang out, chat with folk, play some classic arcade cabinets nearby, or just soak in the festive vibe or any seasonal events and celebrations. Hardcore purists may settle for Fighting Ground’s matchmaking but for online communities, and perhaps a good way for influencers to interact with their followers, the Battle Hub is the place to be.
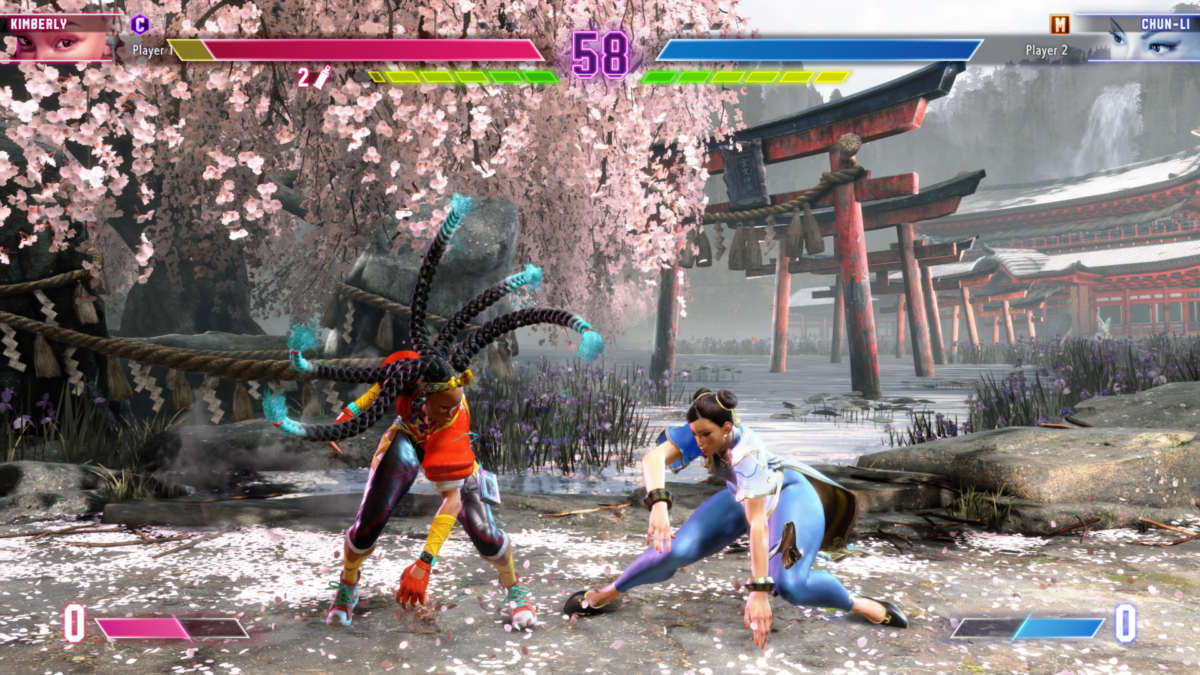
Street Fighter 6 features a control type to suit players of just about any experience level. Credit: Capcom.
Control Types in Street Fighter 6
To cater for players of different skill levels, Street Fighter 6 has three different control types you can choose from.
Classic: this is your traditional six-button set-up with light, medium and heavy punches and kicks, while you’ll need to know the inputs for all moves.
Modern: a more simplified control scheme where you can use special moves without remembering complex inputs and can also use assisted combos. Similar to Super Smash Bros, you have one button for special moves but holding a different direction at the same time will result in different special moves. Note that charging special moves (i.e. holding back for at least two seconds) such as Guile’s Sonic Boom or Chun Li’s Kikoen still require the charging time to activate. There are light, medium and heavy attack buttons but these automatically punch or kick based on the context. This control scheme has been designed to play comfortably on a gamepad, so you’ve also got shortcuts to moves like throws and Drive mechanics mapped to the shoulder buttons and triggers. It may be simpler but you’ll still need to be tactical to win.
Dynamic: This is purely for the casual player who just wants to bash buttons while looking great thanks to AI assistance. Hit any button and you’ll automatically pull off special moves and combos that fit the context of the situation such as your distance from your opponent. This control type is only available in Fighting Ground in local modes.
Whichever control style you pick, the game also includes in-battle accessibility audio settings for visually impaired players. You can toggle on and off sounds made to indicate an opponent’s distance, when a cross-up connects, whether an attack is a high, mid or low attack, and more.

Guile pulls off a colourful Drive Rush. Credit: Capcom.
Drive time: overview of Street Fighter 6’s new mechanic
Street Fighter is fundamentally about beating up your opponent until their life meter has run out, but there have always been other gauges you have to keep an eye on, while some fighters have their own bespoke systems. We’re going to focus on the Drive Gauge that you need to be aware of regardless of control style. It’s made up of six small bars displayed under your life meter. On a basic level, you can say these act as your armour, which prevents you from taking any chip damage while blocking attacks, although powerful attacks such as Super Arts will cause damage to both life and Drive meter.
More importantly, however, the Drive Gauge can be likened to stamina that allows you to pull off all the other cool moves in Street Fighter 6, as detailed below.
Overdrive Art: This is the equivalent of EX moves in previous games where you spend your special meter to dish out a faster, more powerful version of a special move indicated with a light fiery aura. This costs two bars of the Drive Gauge and is activated either by pressing two of the same attack buttons (punch of kick) at the end of your move input, or by holding R2+Triangle/RT+Y with Modern Controls, as well a directional input for the specific special move you want.
Drive Parry: This lets you parry incoming attacks from your opponent either by holding down medium punch and medium kick together in Classic or R1/RB in Modern. Your fighter will have a glowing blue aura while the Drive Gauge slowly drains as you hold your parry position but any attack that is parried will also restore the Drive Gauge. Make note that parrying will leave you open to being thrown. If you have excellent reflexes, however, you can also just tap at just the right time to get a Perfect Parry, indicated by the action also pausing momentarily, which greatly allows you to punish your opponent with a counter. Parries can also defend against cross-ups.
Drive Rush: You can already dash forward by double-tapping forward, but this helps close the distance on your opponent even faster as your fighter gives off a green aura, while also allowing you to immediately connect into an attack. Drive Rush is activated by double-tapping forwards either from a Drive Parry stance (it’s possible to do this quickly enough so that the blue aura doesn’t give away what you’re going to do) or from a cancelable normal attack. Drive Rush from parry costs one bar of the Drive Gauge while from a normal attack costs three bars.
Drive Impact: Probably the most powerful move in your arsenal, performing Drive Impact with heavy punch and heavy kick in Classic or L1/LB in Modern will absorb your opponent’s incoming attack to deliver a show-stopping counter that can either knock them down instantly or leaves them on their feet for a brief moment before they collapse, giving you the chance to punish. If an opponent blocks this, the force of the attack will still cause them to stagger back a few steps, and if they’re up against the edge of the screen, it will cause them to wall-splat, also leaving them open to a devastating follow-up. As it only costs one bar of the Drive Gauge to use, it can feel like an overpowering ability. However, Drive Impact can also be countered with a throw, a fast combo attack (e.g. Chun Li’s Lightning Legs), or just by jumping over it. It can also be countered with another Drive Impact whereby the second player who unleashes it will be able to absorb the incoming attack to counter with theirs. If both fighters trigger Drive Impact at the exact same frame, they just cancel each other out.
Drive Reversal: Costing two bars of the Drive Gauge, this counterattack is fairly minimal in damage but is useful for when you’re cornered and need some room to breathe. The input is similar to Drive Impact but while you’re blocking an opponent’s attack, press forward along with heavy punch and heavy kick in Classic or with L1/LB in Modern.
Burnout: This is a state that occurs when you completely spend the Drive Gauge. While you’re in Burnout, you’ll have to wait a considerable time for the gauge to fully recover. In that time however, you won’t be able to use any of the above Drive mechanics and you’ll also be vulnerable to chip damage. It’s possible to be put in a state of Burnout both by overusing your Drive abilities or by taking too much damage from your opponent.
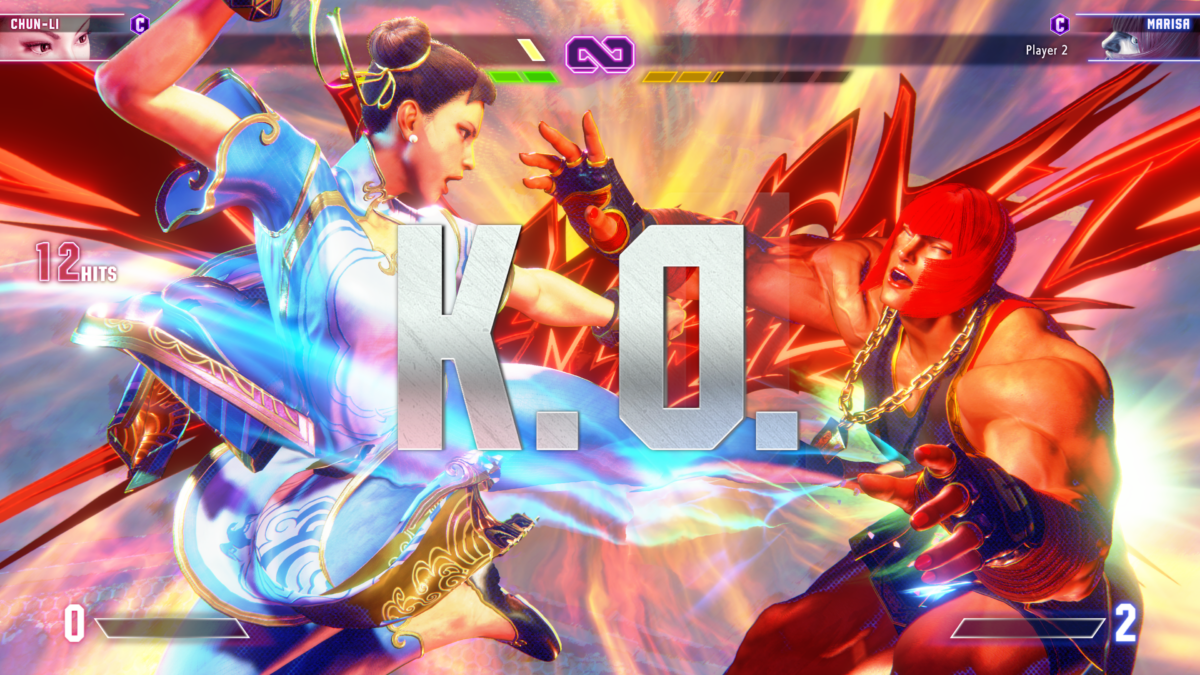
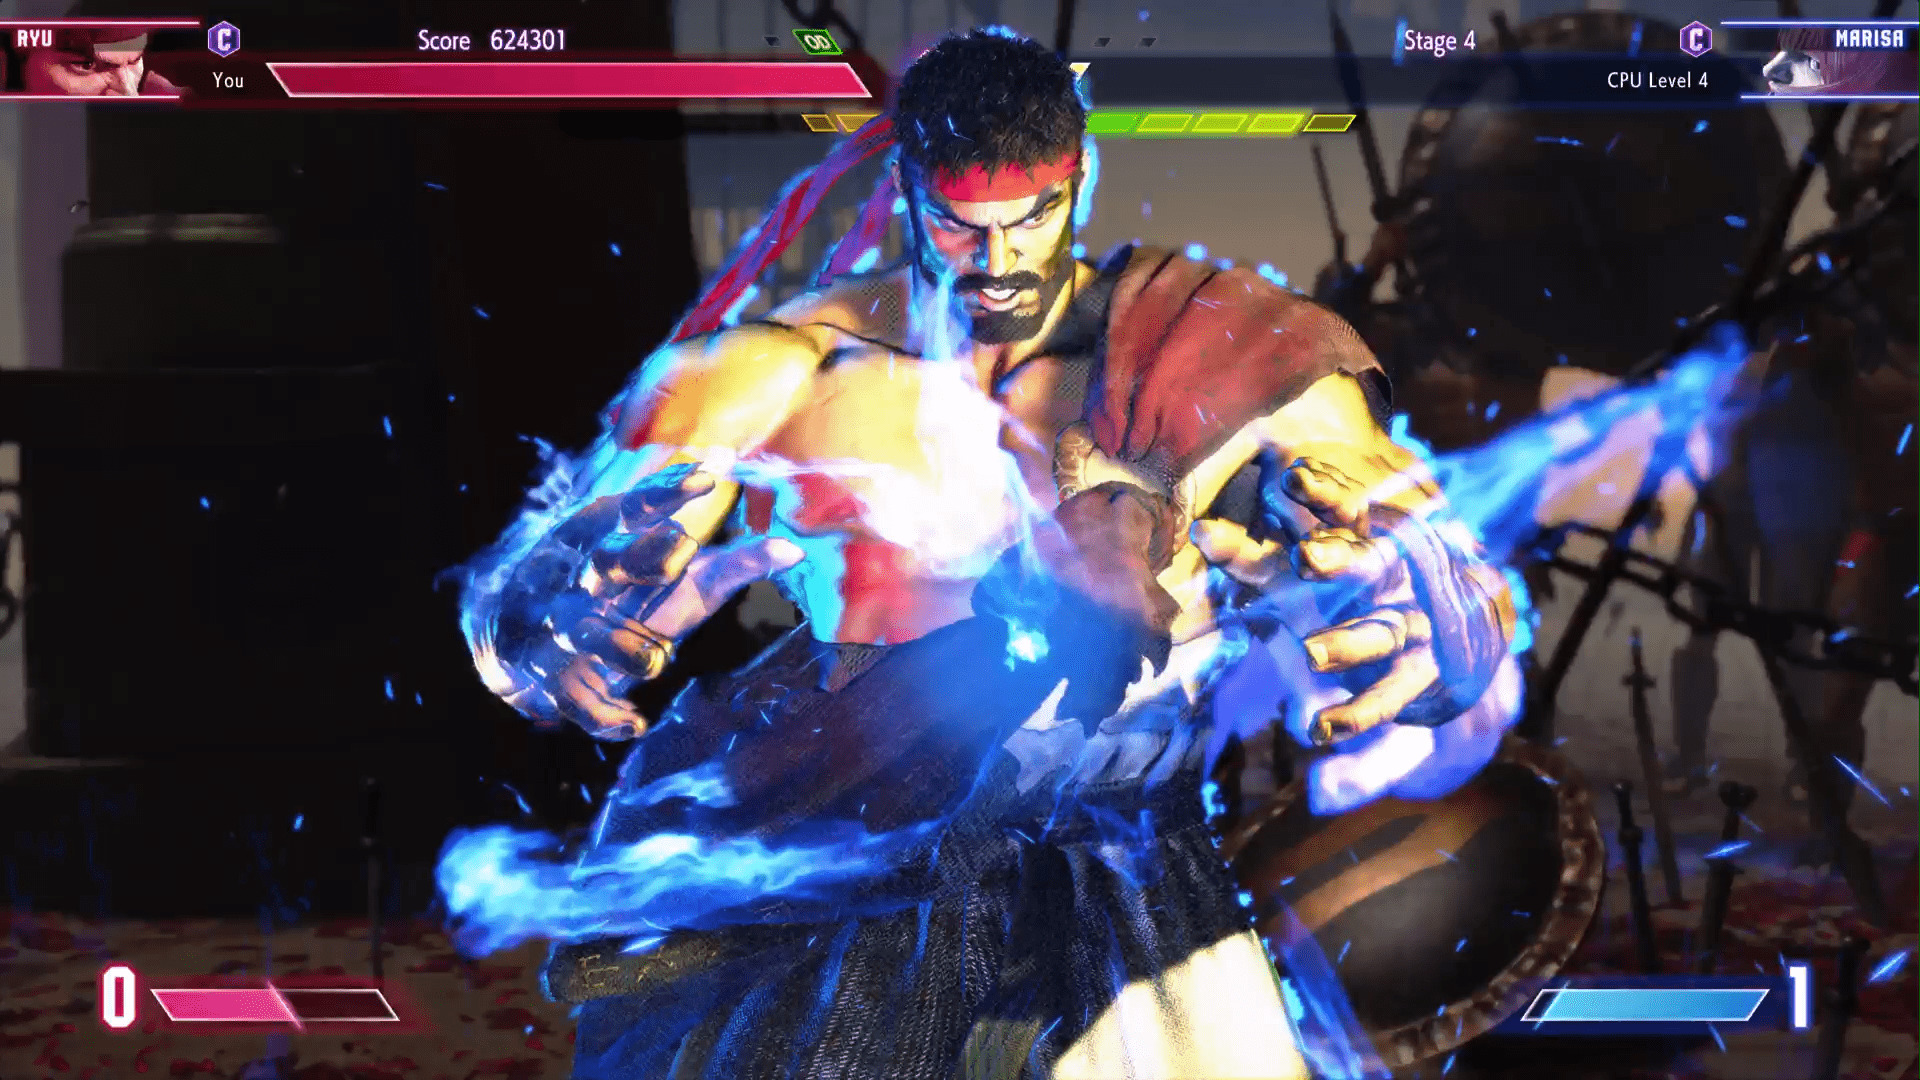
A visually spectacular Critical Art. Credit: Capcom.
Super and Critical Arts
Aside from the Drive Gauge, there’s still another gauge at the bottom corner of the screen called SA, short for Super Art. Where past games used this gauge for EX moves, now you can just look at this bar and know you can spend it on Super Arts, the really flashy high-damaging super moves each fighter has.
There are Super Arts that use one, two or three levels of the SA gauge, naturally getting more powerful and visually spectacular the higher you execute. If your health goes down to 25% in that round, a Level 3 gauge will turn into a Critical Art (CA), which is basically the Level 3 Super Art but even with more damage and an additional visual flourish.
The inputs for Super Arts usually require two quarter-circle inputs, either forward or backward, followed by a punch or kick in Classic. In Modern, this just requires pressing Triangle+Circle/Y+B, with different Super Arts activated if you’re also holding a different direction. They can, however, be blocked, so it’s best to unleash these attacks at the end of a combo, or perhaps as a wake-up counter.
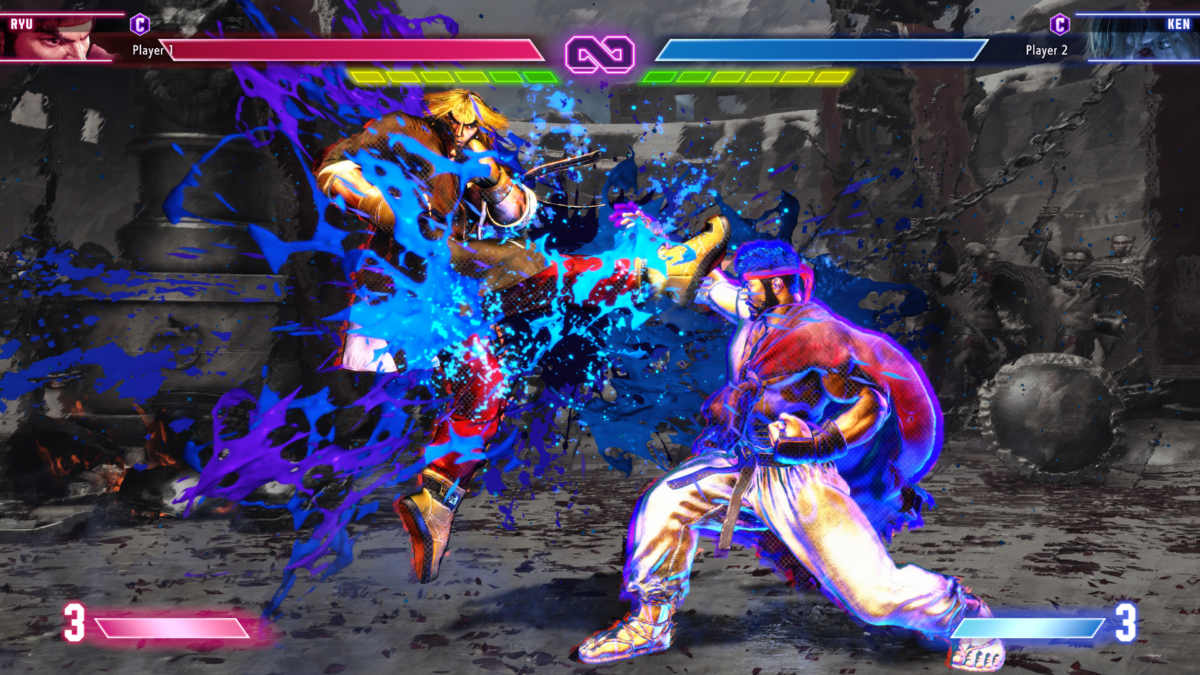
Ken executes a perfect Parry. Credit: Capcom.
A few fighting game terms explained
There’s an extensive glossary of mechanics in Street Fighter and fighting games as a whole, including a few that I’ve already mentioned in this guide. To help you get a better understanding, here’s some I’ll try to briefly explain.
Cancel: When you interrupt or ‘cancel’ one move that immediately goes into another move rather than waiting for the animation of the first move to complete. This is essential for stringing together fast combos that would otherwise be impossible to execute.
Cross-up: This is when you perform a descending air attack that has you jumping just over your opponent so that your attack catches the back of their head, which they cannot block. This isn’t the same as an overhead, which means an attack that comes down onto an opponent’s head when crouching.
Wake-up: Usually, this refers to a knocked down fighter’s attempt to make a comeback attack the moment they get back up. This is typically seen with wake-up dragon punches, or even wake-up Super Arts.
Anti-air: Any move that is able to counter an opponent’s air attack, usually while the defender is on the ground – although you can have air-to-air counters, too.
Punish: Pretty self-explanatory. Punishing an opponent who’s made a grave mistake and left themselves wide open to a counter. If your opponent has a special move or combo that narrowly misses, leaving them open to counter, then that’s known as a whiff punish.
Throw tech: When you manage to escape being grabbed by an opponent by also pressing the throw input (light punch and kick together in Classic or L2/LT in Modern) at the same time. Can also be shortened to Tech.
Neutral: This refers to not moving the stick or direction input at all so that your fighter is standing on the spot, although they can also be jumping upwards for air neutral. Instead of backing away or rushing forward, sometimes it pays to be neutral!
There’s a whole lot more to get to grips with, but I’m sure you’ll learn them along the way. Welcome to the world of Street Fighter 6!
Want to learn more about the world of Street Fighter 6? Then check out our other guides:
Street Fighter 6 World Tour Guide | Street Fighter 6 character guide