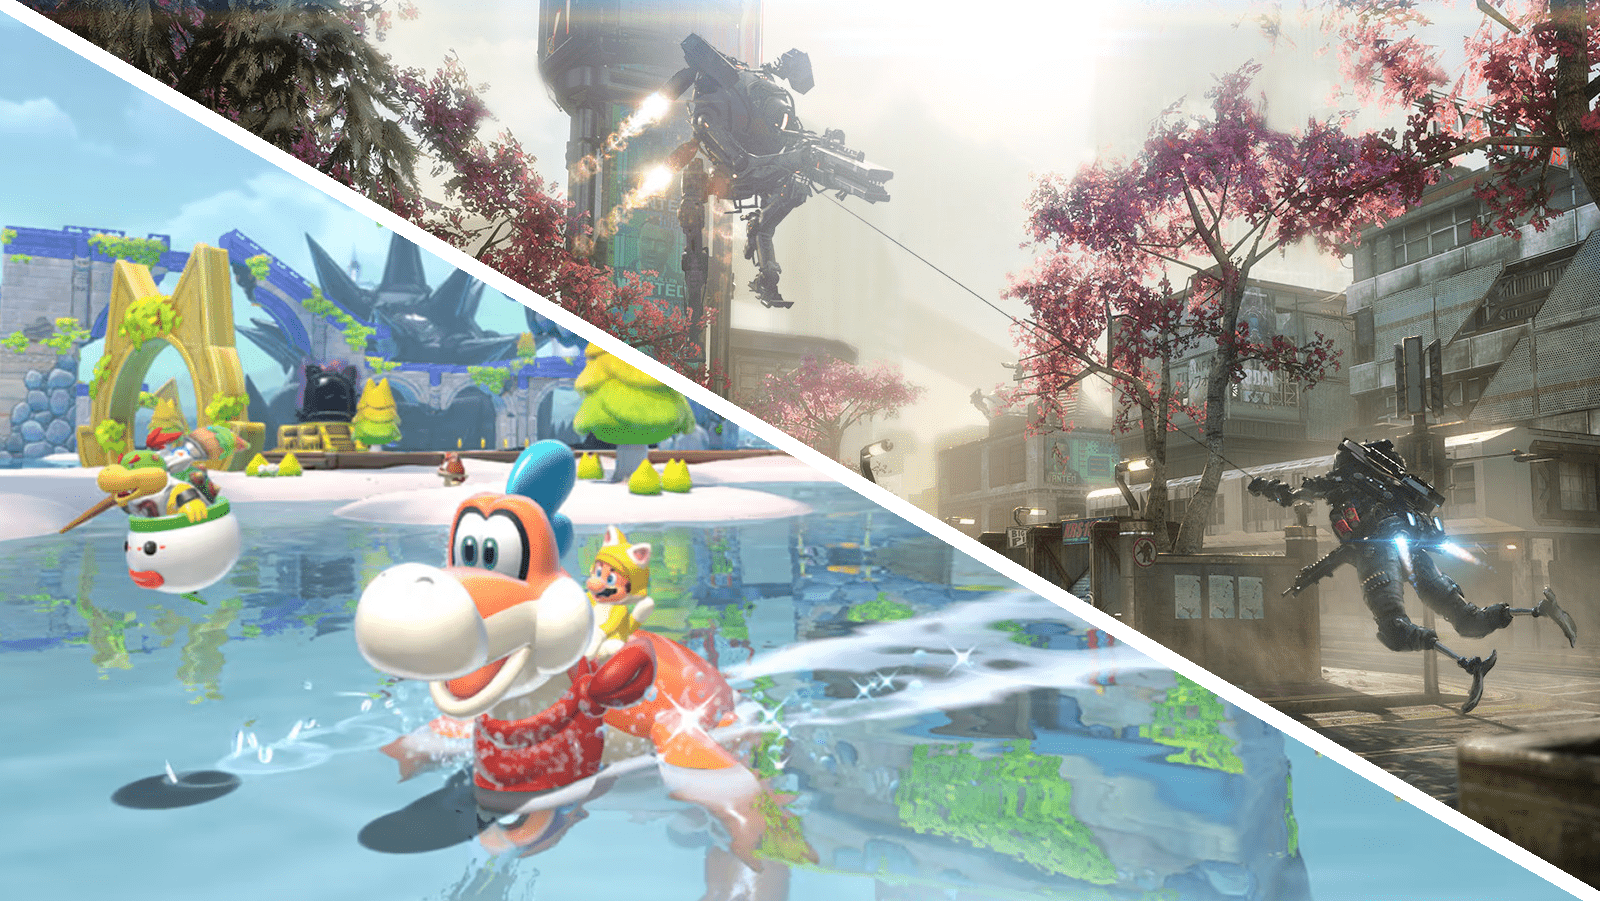
A famous game development quote from id Software veteran Jay Wilbur is: “Level design is where the rubber hits the road”. This means that it doesn’t matter how cool your weapons, how stylish your graphics, or how deep your story is, if your levels fail to deliver those elements to your players in an engaging way. In effect, levels are the bridge between the content you make and the people playing your game, so it’s worth ensuring each level is delivering exactly what you need it to.
To help with this, we’re going to run through a wide range of tips to help in creating fun and focused levels for the sort of 3D environments you might find in first- (Counter-Strike) or third-person (Zelda) games. We’re going to focus on single-player levels, because while a lot of these techniques also apply to multiplayer levels, there are enough key differences that they deserve a separate article of their own.
YOUR LEVEL’S GOAL
As with most areas of game design, when starting a new level, you should start by asking ‘Why?’ – as in, ‘Why am I making this particular level?’ Just like scenes in a movie or book, it’s not enough for levels to simply exist to pad out a game’s playtime; every one of them must bring something new or unique to the game to prevent them blending together.
You might want your level to revolve around a newly introduced game mechanic or enemy type. Or maybe you want it to be predominantly puzzle- or exploration-based to provide contrast to the previous combat-heavy one. Maybe you need the level to advance the game’s plot or move the player’s avatar from environment A to environment B in readiness for the next section. All these objectives are valid, but note that they’re ‘your’ goals as a developer, not the player’s goal (which might be to shut down a reactor or kill a boss, but the action involved in doing so will serve your goal).

Halo’s Library shifts the game in several ways, introducing a creepy atmosphere, a new enemy, and a story twist that sets up the final act.
Once you’ve worked out your goal for the level, then be sure to write it down. Levels take a long time to move through every stage of the process and it’s easy to lose track of your original objective as things evolve.
PLANNING YOUR SPACE
Even with a goal in mind, it can be difficult to know how to begin a brand-new level from scratch. One useful technique is to jot down a few words for each of the potential big moments and key locations in the level. By writing these on Post-it notes representing each area, you can then start to position them in a rough flow chart or map of the major locations and how they might connect to each other.
As an example, consider the Library level in the original Halo. The designer’s goal for this level was to introduce a new enemy faction, the Flood, and to provide a horror theme to contrast the racing about in buggies from previous levels. So the Post-it notes might have sentences like:
• Build a sense of dread
• Reveal the Flood
• Fight the Flood
• Flee from the Flood
• Secure the Halo’s key
• Story revelation about the Halo
• Cramped, confusing environment
We can string these together to give a flow chart ‘path’ of events through the level, then begin to turn that into a sequence of main locations and set-pieces. Next, we can take these major ‘story beats’ and sketch our initial map, beginning with exploring creepy, empty areas, our action kicking off, new enemy types gradually being introduced, our fight to the exit, and the level’s story climax. Note that the final point about the environment doesn’t end up on a Post-it note but is there to remind us that the connecting corridors between areas need to be cramped and the combat arenas should be disorientating. More on why, later.
BUILDING BLOCKS
While sketching a 2D map on paper is great to get you started, it’s important to get into building 3D geometry as quickly as possible. Because they have no depth, 2D maps make it difficult to plan truly 3D environments (more on this later, too), but more importantly, it’s impossible to visualise how a space will look until you’re standing in it.

This image of a Half-Life 2 level illustrates the main stages that a level goes through during development.
This is where you jump into whichever level editor you’re going to use to build your environment. For beginners, I’d suggest using Unreal or Unity, as both offer comprehensive tools and tutorials for making 3D environments, but you could also build levels in an art tool like Blender and export them into your game, or use a specific game’s built-in editing tools if you’re making levels for it.
In any case, you should start by ‘blocking out’ your level using chunky primitive shapes (cubes, wedges, cylinders) that are snapped to a grid. Your goal at this stage is to get an idea of roughly how big each area will be and how they connect to each other. Don’t worry about lighting and textures, and if you find yourself building something in detail, then you’ve gone too far. You’re looking to understand how your level flows from area to area, and it’s only now that you’ll be able to see how the pieces interconnect. You might find one large space blends into another (bad for performance and for player navigation) so you’ll need to move them apart. Or maybe you realise that rotating a section might make the player’s first view of it much more interesting.
You can also start to consider which ‘chunks’ of environment you can make to be used multiple times over the level. Building some reusable sections now can save development effort later, allowing you to focus on your level’s set-pieces.
EVOKE EMOTIONS
As you begin to refine your initial blockouts into more detailed geometry, you can begin to ensure that the emotions your level will evoke in the player are the right ones. This calls back to the plan for the level you made earlier: do you want to launch straight into combat or build up tension before finally springing an ambush? Will you provide a sense of wonder or just drive players to try and get out of the environment as quickly as possible? Will it be obvious there’s a deadly threat, encouraging the player to move quietly, or is figuring out past events part of solving the level’s puzzle? Basically, decide how you want the player to feel in each area and the level overall.

Despite ostensibly similar gameplay, Deep Rock Galactic’s different biomes mean its environments evoke a range of emotions, from tension to unexpected wonder.
I talked about games having pillars in Wireframe 52 (wfmag.cc/52), but you can also apply this technique to individual levels. For example, a level set in ancient ruins might have development pillars revolving around awe (who built this?), hubris (we should let the past sleep), or greed (these treasures are mine). Thinking about these pillars means you can ensure each decision you make works towards the emotions you’re aiming for, and allows you to co-ordinate the level’s colour palette, brightness, sounds and music, length, pacing, challenge, and so on.
Once you start to nail these decisions down, it can be handy to gather reference material and put together a mood board. Look for images at both ends of the scale: zoomed out ones that evoke the overall feel you want, and close-up details that capture textures.
THINK IN 3D
In addition to making all corners strictly at 90 degrees, another first-time level designer mistake is to present the entire level on a flat plane, without making use of the fact that you’re in a 3D space that can climb or drop. If you need to separate two areas, consider that a vertical shaft is basically the same as a corridor. Can an area’s entrance be raised, letting the player survey this new space from a vantage? Or lowered, meaning you need to be cautious as you can’t see hazards ahead? Both raised sections and death pits force players to look for routes across, while enemies on higher or lower platforms drastically changes how it feels to fight them.
3D geometry also allows you to offer players a choice of ‘difficulty’ in each area, with the easiest option on a flat plane and harder choices requiring more spatial awareness and skill to access. For example, the easy way over a pit might be to simply fight across a bridge, but a harder option involves clambering up and sneaking past the enemies. The second option is more dangerous as you might fall, but if there’s a reward for getting across unnoticed then players can choose if they want to risk the more difficult route or not.
GUIDE THE PLAYER
A useful technique to prevent levels feeling aimless is to ensure the player knows exactly where they need to go, just not how to get there. If you show players the level’s goal then they can judge progress through the level by getting closer to it, and can use it to orientate themselves (if the goal’s behind them they may be going the wrong way). Maybe they see the goal through a force field but need to turn it off first, or it’s across a gap they need to find a way around. Or you can make the goal huge and place it way off in the distance, with multiple levels (or even the entire game) involved in reaching it. See Half-Life 2, Journey, and The Witness as examples of this technique.

The environments in games like Deus Ex: Mankind Divided provide players with enormous amounts of information about their world without explicitly spelling it out.
At the smaller scale, you can subtly guide player attention towards what’s important in each area of the level without resorting to ‘Go here!’ HUD arrows. Elements like bright or flashing lights, bold textures, movement, and trails of pick-ups can all gently attract players. You can back up each of these guiding elements with sound effects as an extra layer of reinforcement, but you should never rely on audio as the only clue.
If your level’s built around a central ‘gimmick’, such as a new weapon, technique, or enemy, then you need to ensure the player is taught how that element works properly, ensuring later levels can rely on them having fully grasped it. A good approach is the ‘demonstrate – practice – prove’ teaching technique discussed in Wireframe issue 44 (wfmag.cc/44) and used by Valve and Nintendo.
ENCOURAGE EXPLORATION
While many players will simply push through your beautiful environments in search of the next challenge, unless you want them to rush through the level (because they’re up against a time limit, for example), you can encourage players to slow down by rewarding exploration.
You can do this by including plenty of secret areas to find, or places that players can see but can’t yet reach (as seen Metroidvania games). These can, of course, include pick-ups as rewards, but the approach taken by Bungie is to tuck away snippets of their game’s lore for dedicated players to track down. Either way, I’d suggest making the first of these secret areas quite easy to find so that players realise they exist and that exploration will pay off.

Yooka-Laylee’s ‘gameplay first’ environments use many of the techniques we’ve covered to help players, such as distinctive textures to indicate platform edges, and visible goals.
Another way to encourage exploration is through ‘environmental storytelling’, the technique used in the Fallout and BioShock games where small details are laid out to tell a story about an event in the past. That the player must put clues together to work out what happened is the key to this technique’s power – it requires them to do some of the storytelling work rather than having everything explicitly spelled out.
PROVIDE CONTRAST
We’ve covered contrast in lighting and textures to attract attention, but contrast also applies to your gameplay. When you can more or less play through your whole level, it’s time to take a step back and look at its pacing. Ideally you’ll have contrast between areas, including in intensity (frantic/relaxed), gameplay style (combat/puzzles), and emotion (oppressive/hopeful). If area after area matches the one before then your level may become exhausting or boring.
Also consider the levels before and after this one to try and provide contrast over the course of the entire game. If the previous level ended with a boss fight, then your new one might want to give players time to recover. Or if it ended with a tough puzzle then perhaps make this level about traversal, both for variety and to give players the sense that they’ve earned some forward momentum.
PLAYTESTING
From the blockout phase onwards, it’s important you playtest your level as often as you can by watching other people run through it. You can ask them questions afterwards, but you’ll learn just as much by studying how they play it. Do your testers understand what to do? Are the environmental clues you placed helping them go the right way? Are there any difficulty spikes, or boring sections that need cutting out or spicing up? Does the level take roughly how long you thought it would for the player to complete (helping you estimate this better in the future)? Do they find any of the secrets, run out of ammo, get stuck in any gaps in the geometry, and so on?
CONCLUSION
Level design encompasses so many factors that we’ve really only scratched the surface here. Still, hopefully we’ve at least exposed some important elements that you may not have considered. Level design can feel slow and frustrating when you’re rebuilding a section to solve a problem (or worse, struggling to work out what’s wrong), but in my opinion, there’s nothing more rewarding in game development than seeing someone totally immersed in a level you helped build.
A final piece of advice: study levels in other games and dig into further research. Above all, practice as much as you can. By far the best technique for improving your level design skills is to build – and critically, finish – levels of all sizes, genres, and gameplay priorities


